How to Install FREE SAP System – openSUSE Installation and Setup
So far in the first two parts of “How to Install FREE SAP System” Series, we have prepared and downloaded our machine to start installing our server machine.
If you missed first two parts, make sure that you go through both step-by-step articles:
- https://abapacademy.com/blog/how-to-install-free-sap-system/
- https://abapacademy.com/blog/how-to-download-sap-netweaver-as-abap-7-51-sp02-installation-files/
What are we going to do now, while SAP installation files are being downloaded?
If you are following this guide step by step, your installation files are most probably currently downloading ;).
In the meanwhile, we will save you some time. Lets focus on installing our virtual server and set all the things up, so that it’s ready to run SAP server on it.
Virtualbox Installation
We won’t be installing SAP server on your physical machine, but instead on virtual one. Go through the following video to install Virtualbox and its extension accordingly.
openSUSE Installation
This will take some time, so you can either choose to go through the video guide or through screenshots, I provided down below the video.
Video Guide
Screenshot Guide
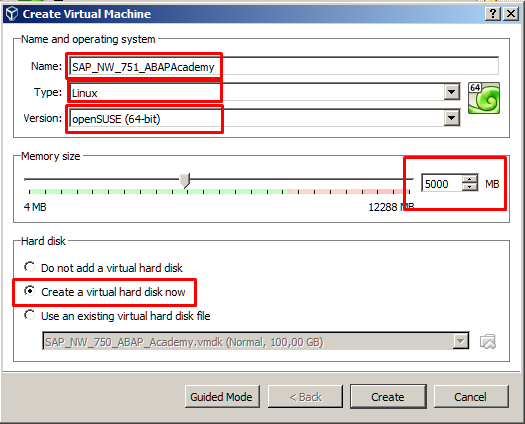
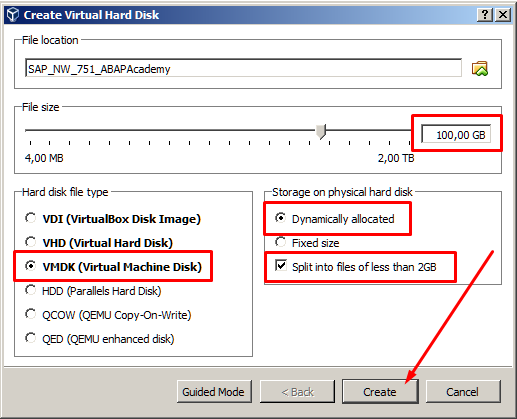
Go to Virtualbox and follow the screenshot steps:

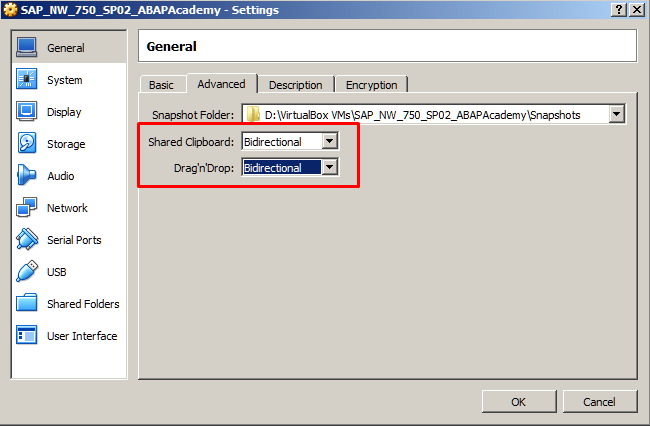
Make sure that you share your clipboard and also enable drag and drop functionality to make it easier to copy and paste some linux commands in the future
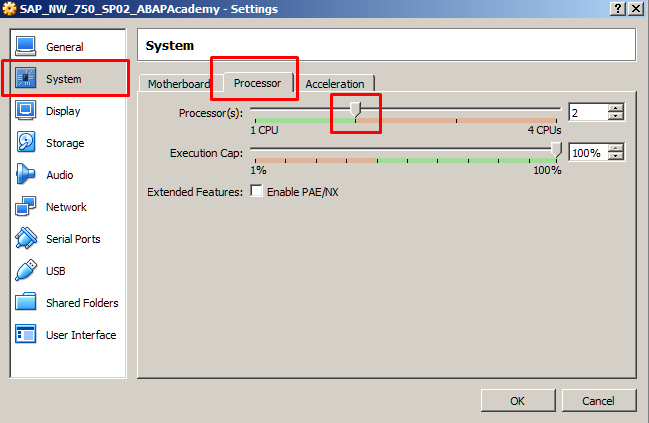
.. and if possible, add more CPUs to the VM:
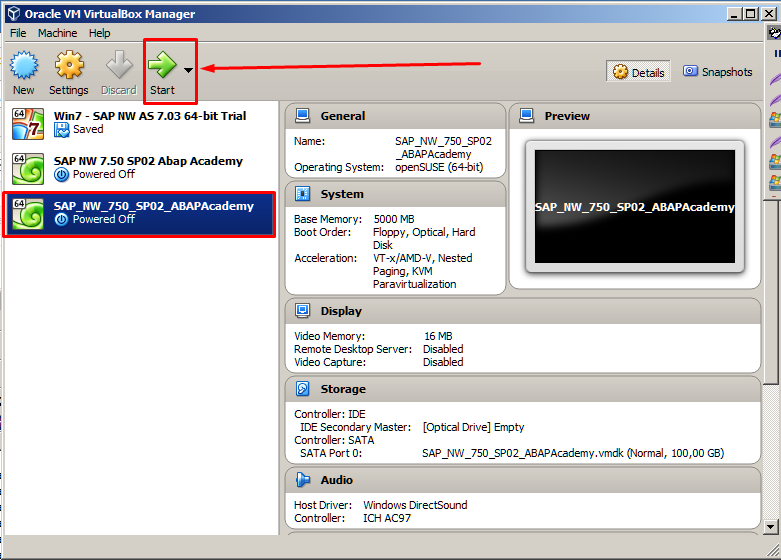
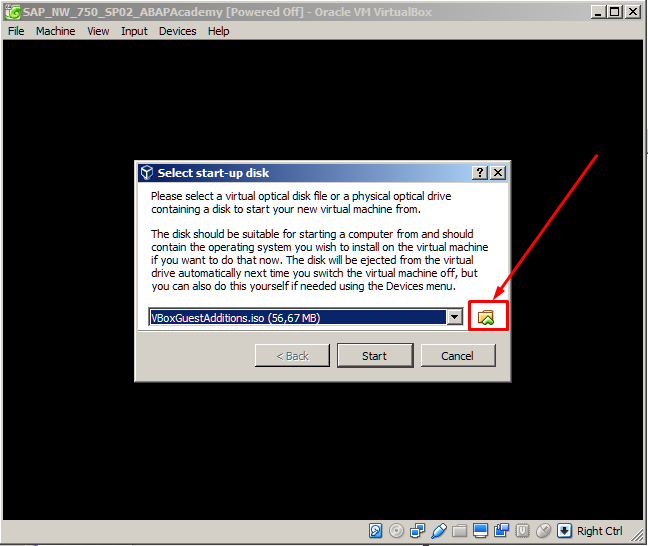
Choose .ISO file and hit “Start”
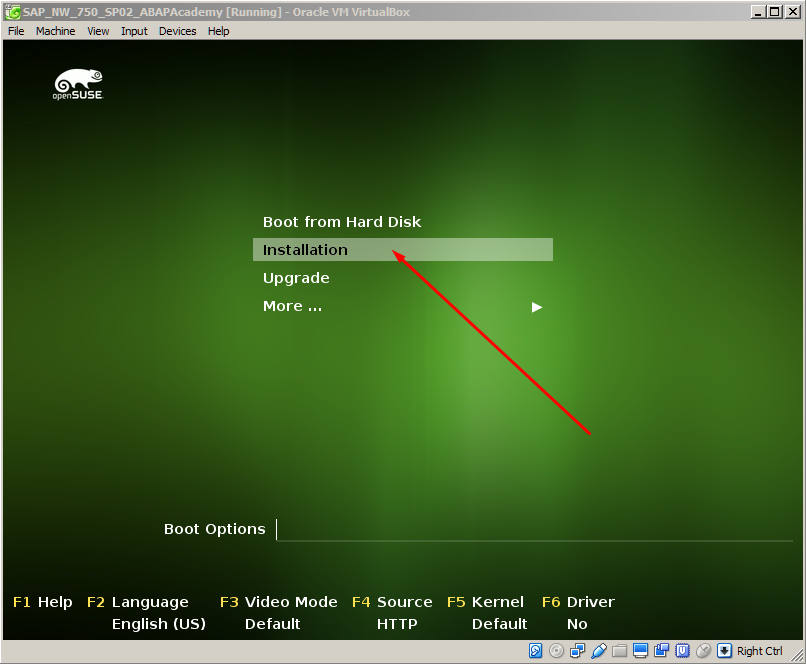
Choose “Installation” and hit “ENTER”
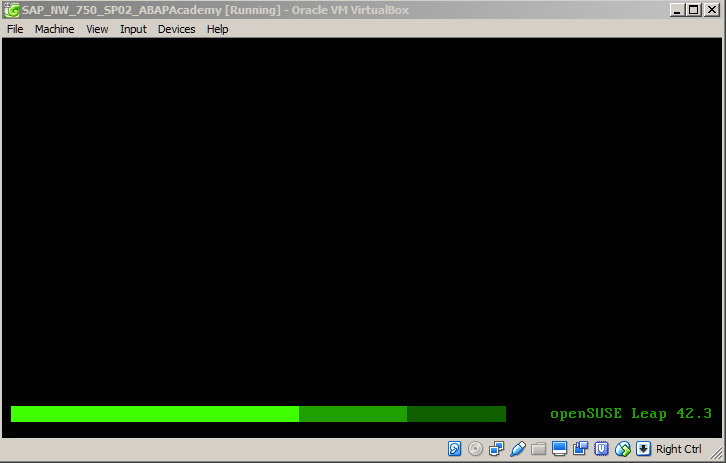
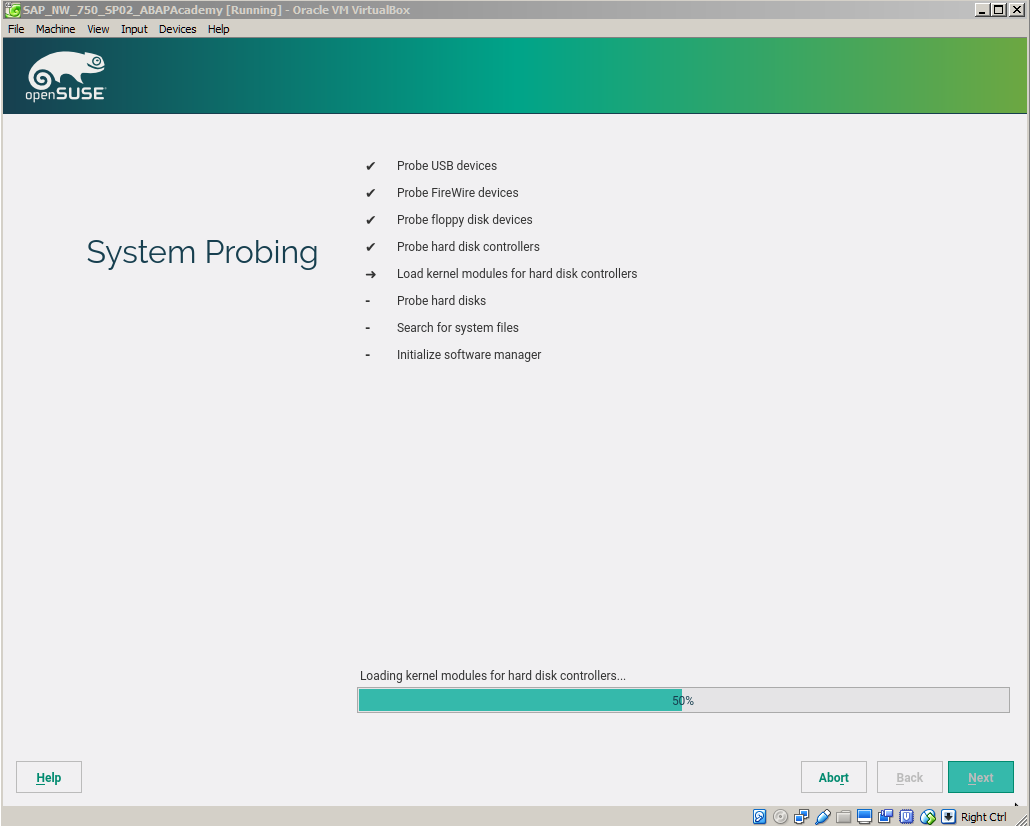
And wait while installation is done with its processing. This may take few minutes, depending on hardware setup.
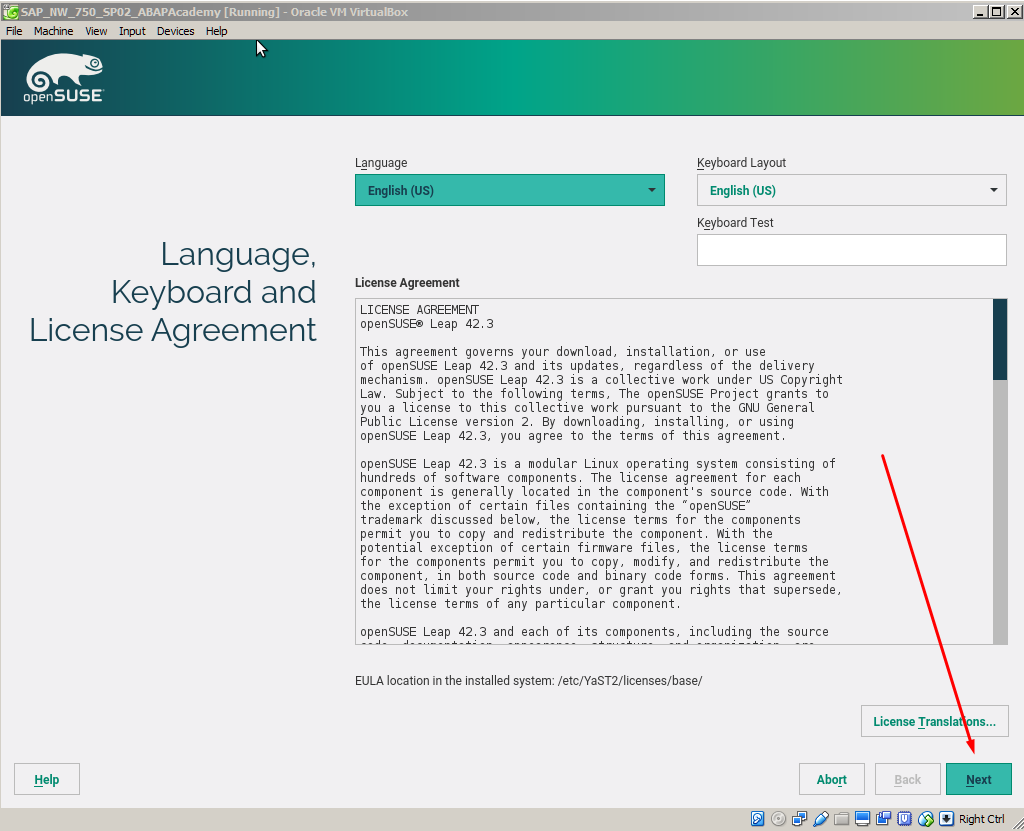
Accept License Agreement by clicking on “Next”
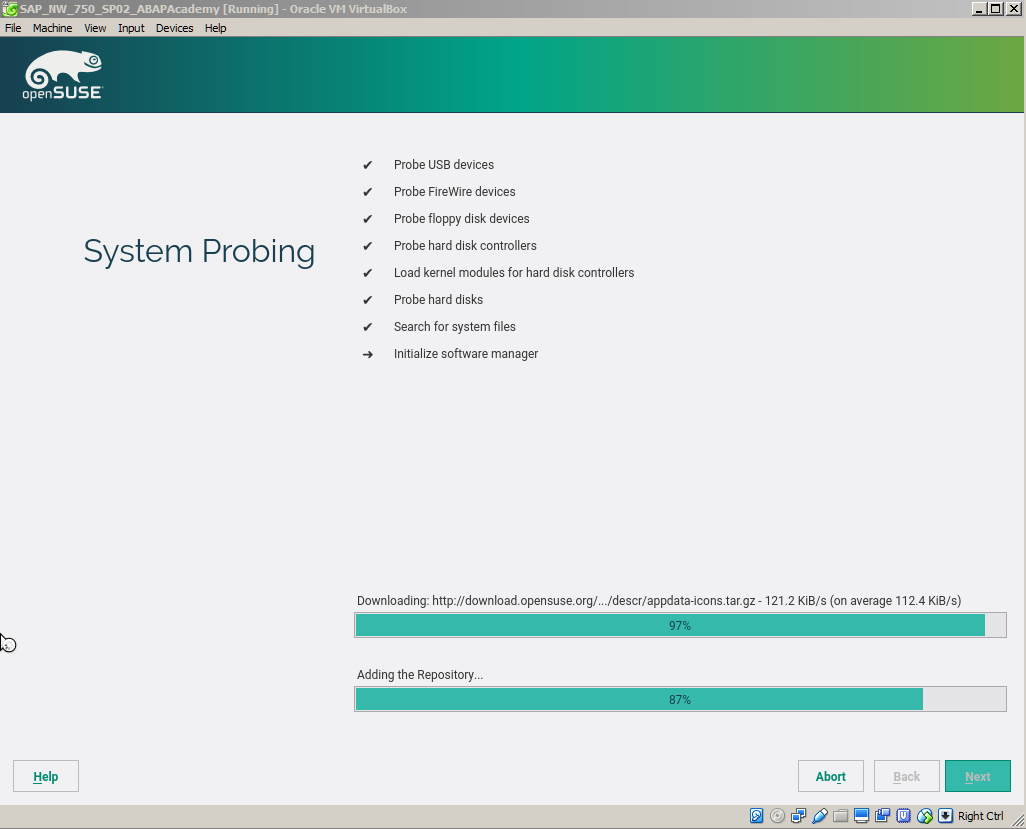
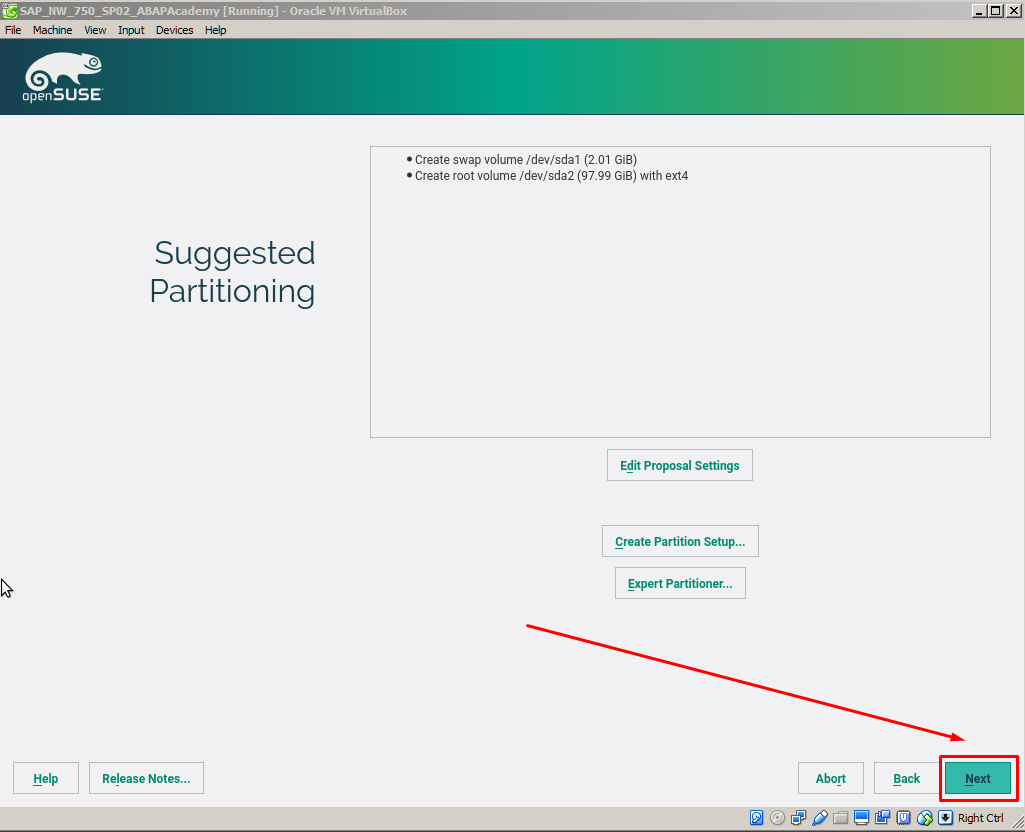
Then installation proceeds:
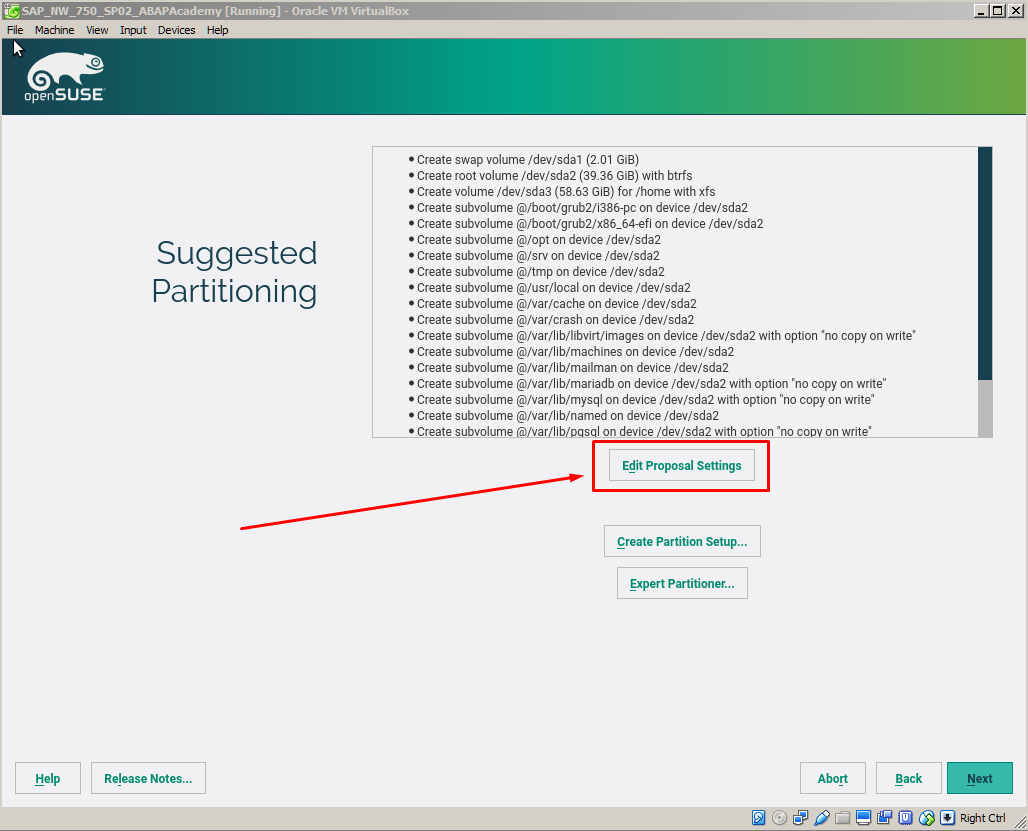
Hit on “Edit Proposal Settings”
Choose the following settings and hit “OK”
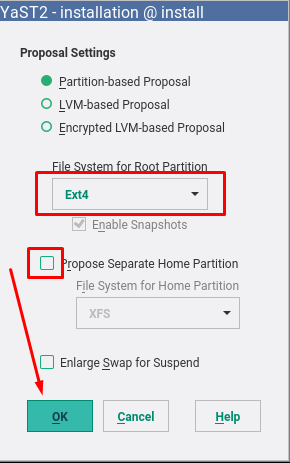
And hit “Next”
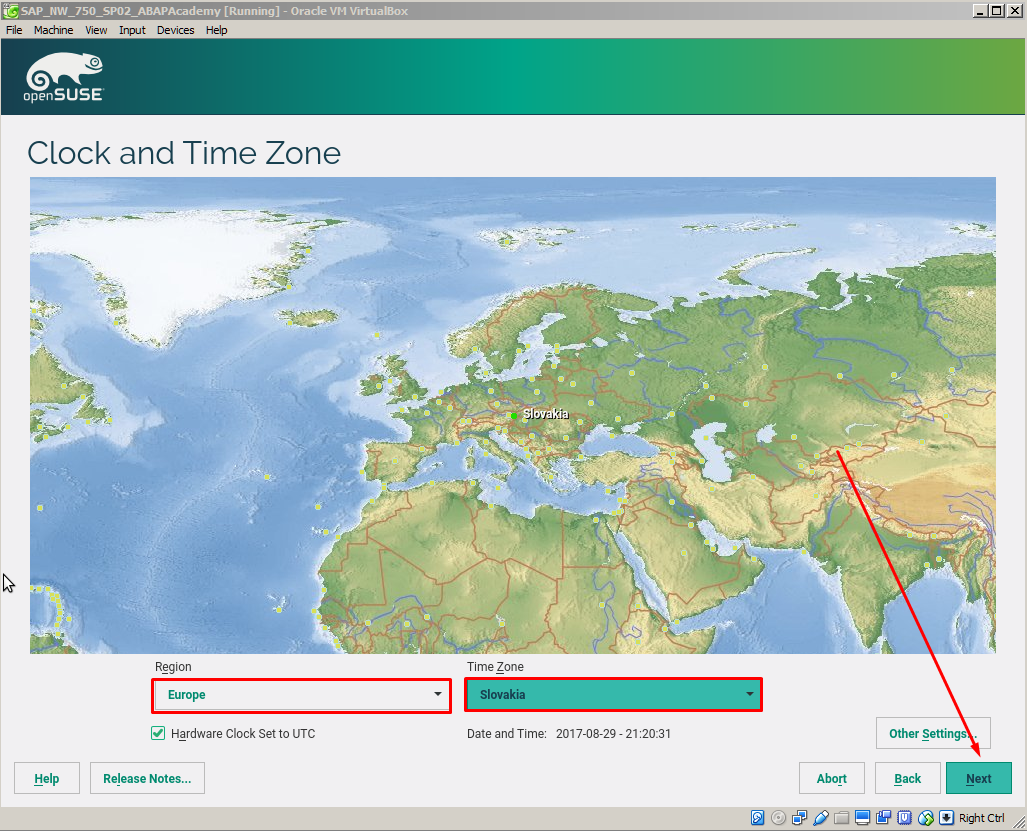
Select Time Zone and hit “Next”
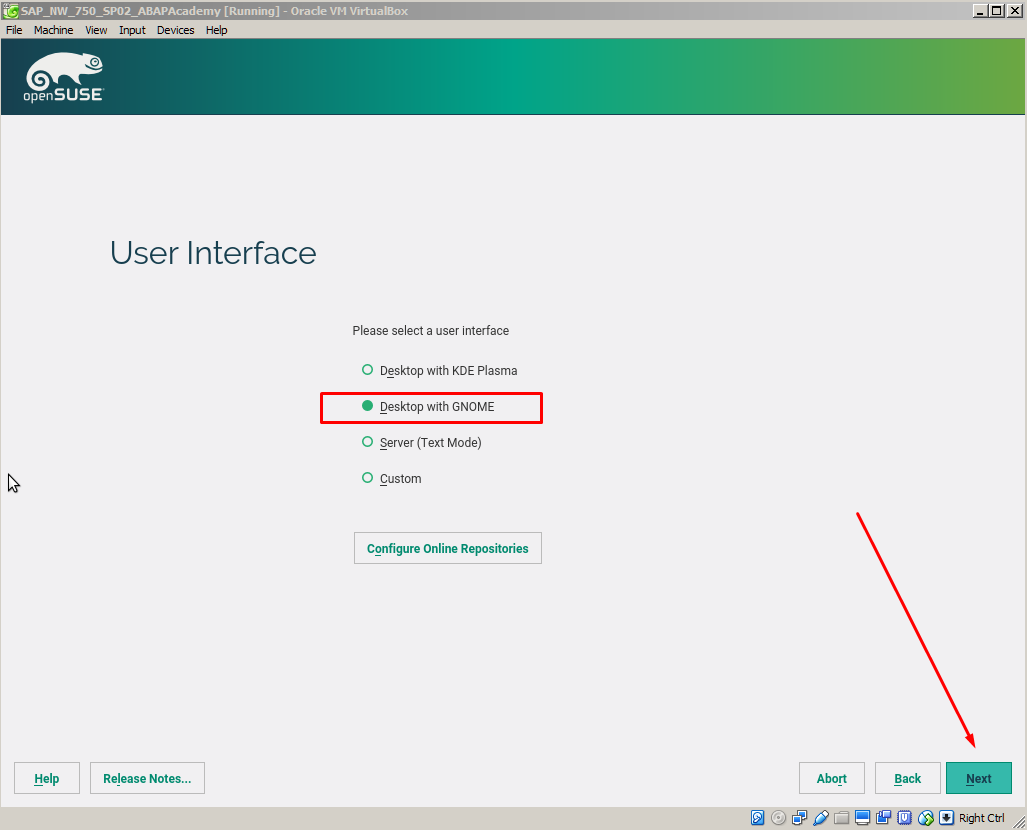
Choose “Desktop with Gnome” as User Interface and hit “Next”
Create New User. You can use also following
Full Name: ABAP Academy
Username: abapacademy
Password: “abap777”
Notice: password must be at least 7 characters long, it should contain lower/upper case + numbers. No special characters. It may cause you issues later when running SAP
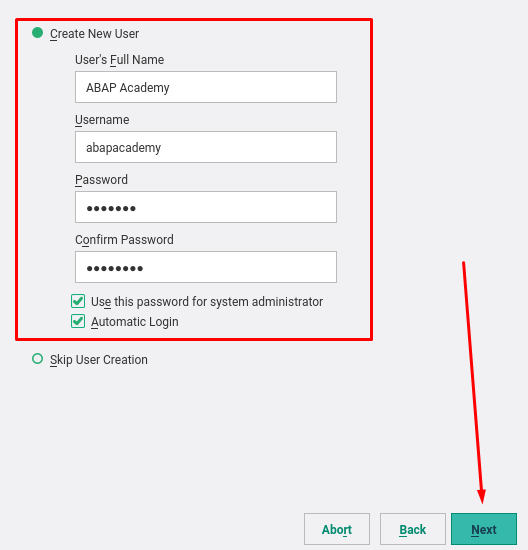
Then hit ”Next”
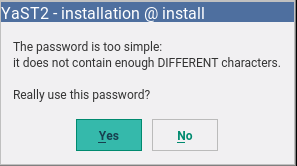
We can leave with this password because we will use it only for local usage.
Hit ‘Yes’, or you can choose more complex password if you wish so.
IMPORTANT: Change Installation Settings
- Disable Firewall
- Enable SSH service
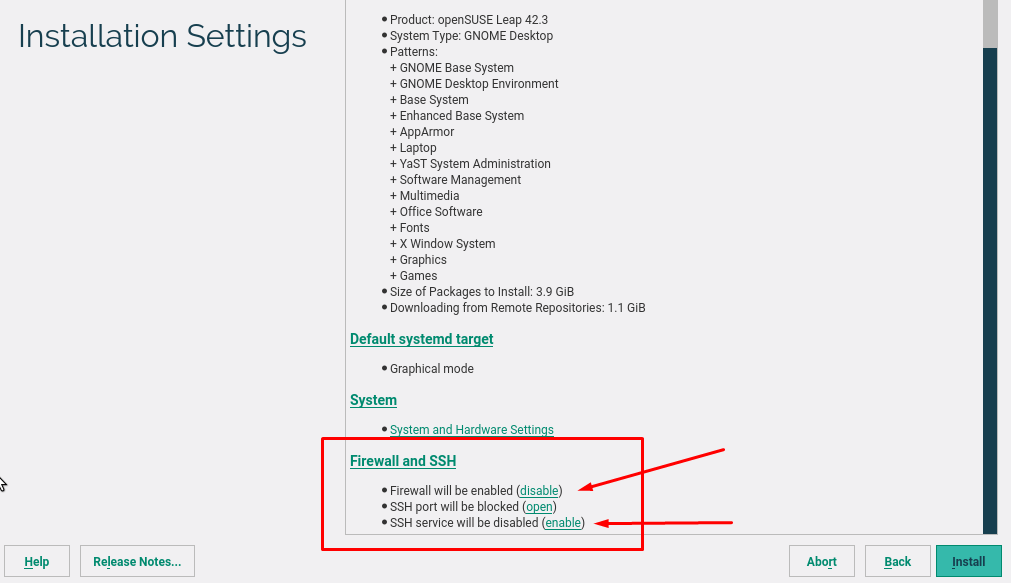
This is how it should look like
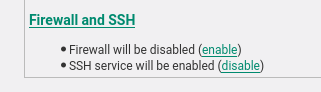
Hit “Install” ..
.. and confirm by selecting the same button
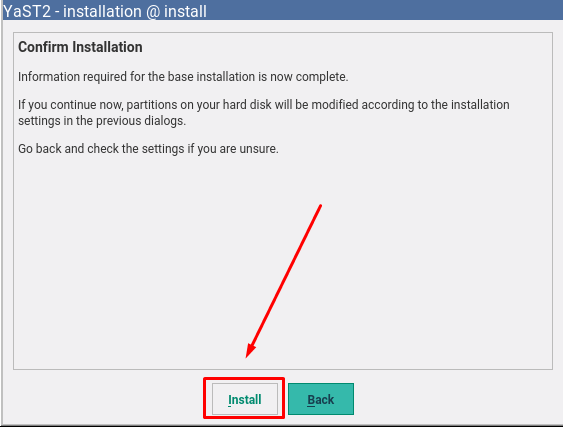
And installation can finally start
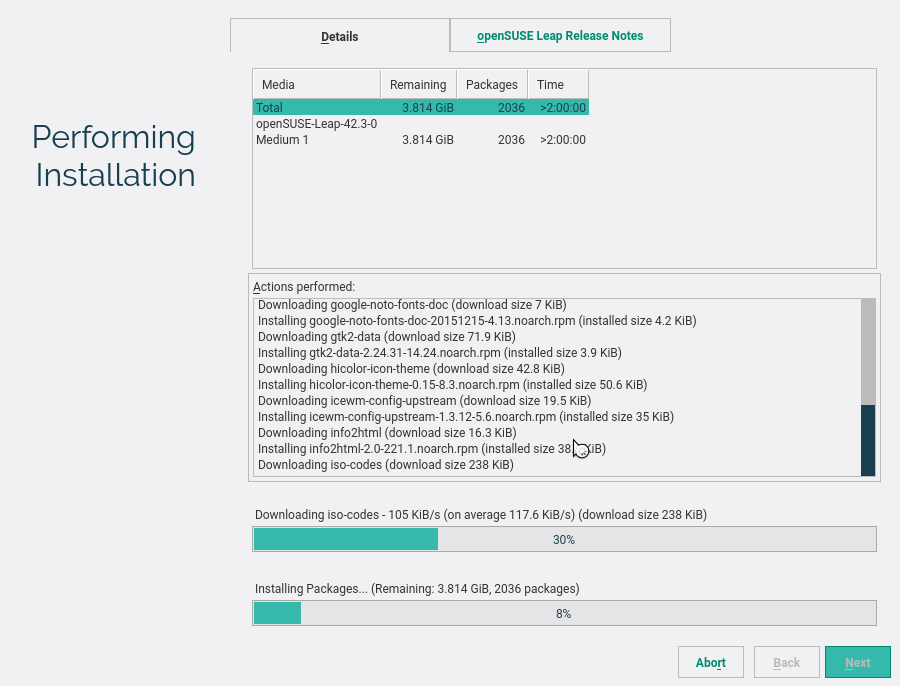
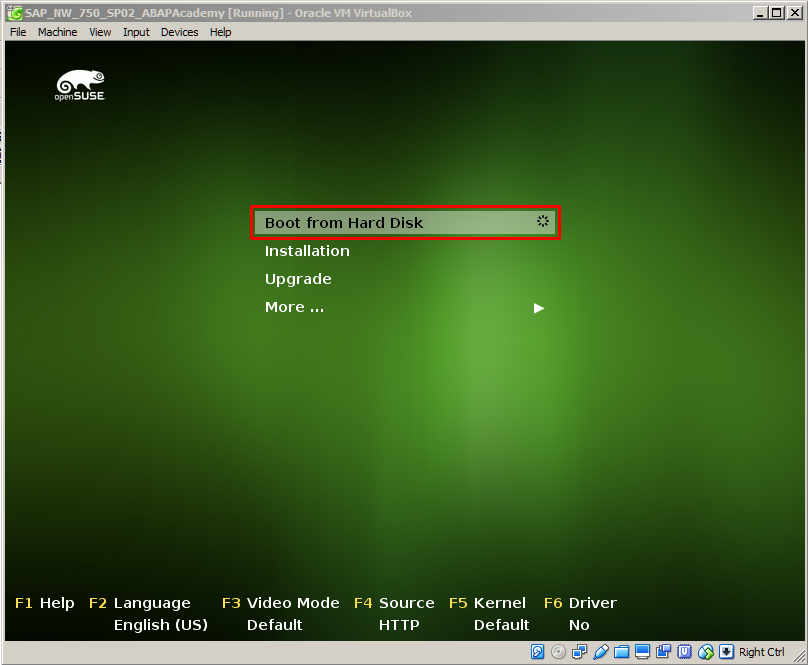
When installation is done, system is restarted.
Choose “Boot from Hard Disk” to start the system.
openSUSE Setup
Directly after installation, we have to setup the system to make it ready for running SAP system.
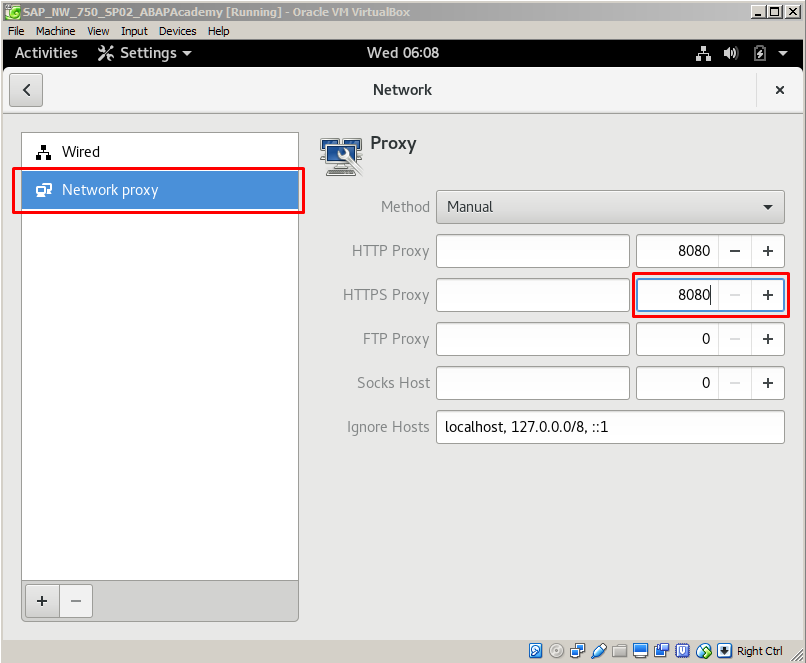
Proxy Setup
Change the http / https proxy settings according to your own network and set the port to 8080
Command Line

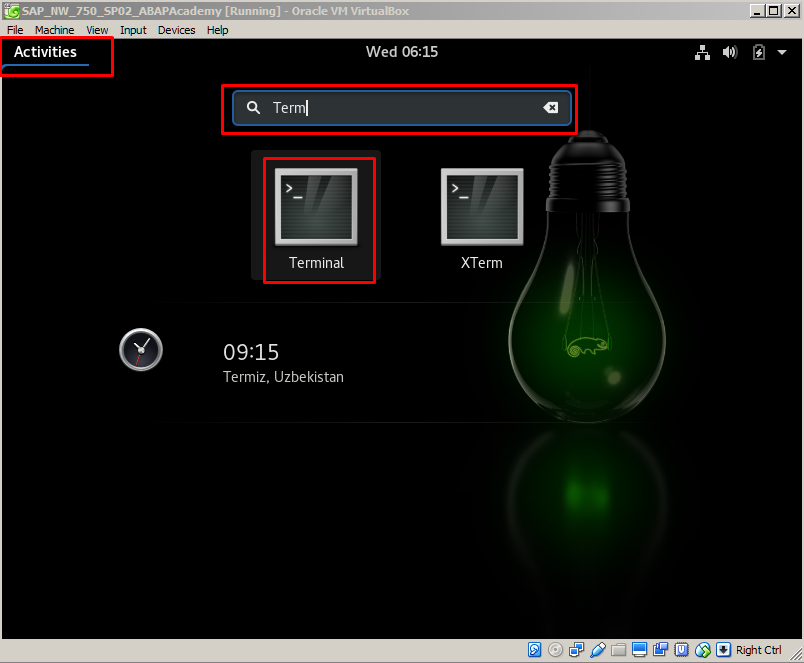
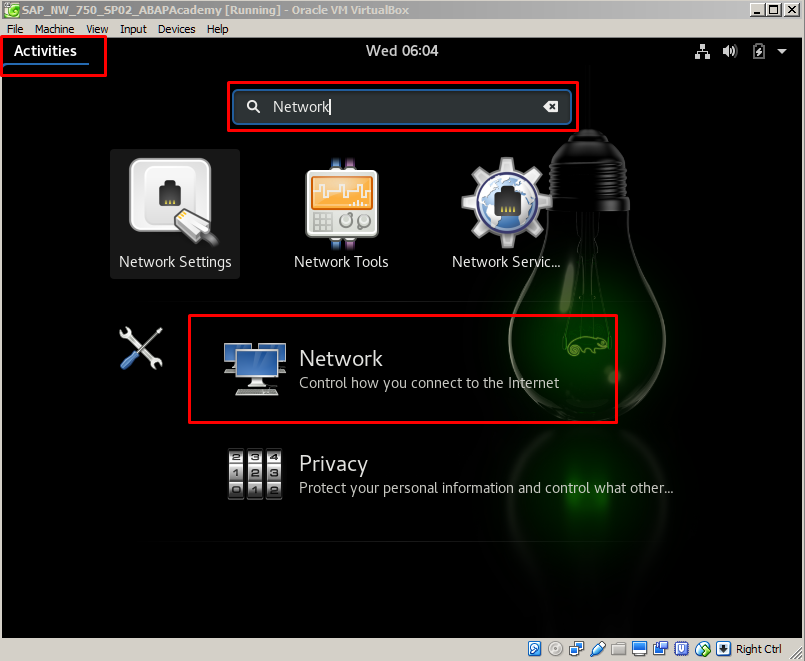
Go to command line by pressing “Activities” and typing “Terminal”.
And choose “Terminal” from the list.
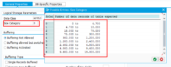
Space Availability
Type command: df -h
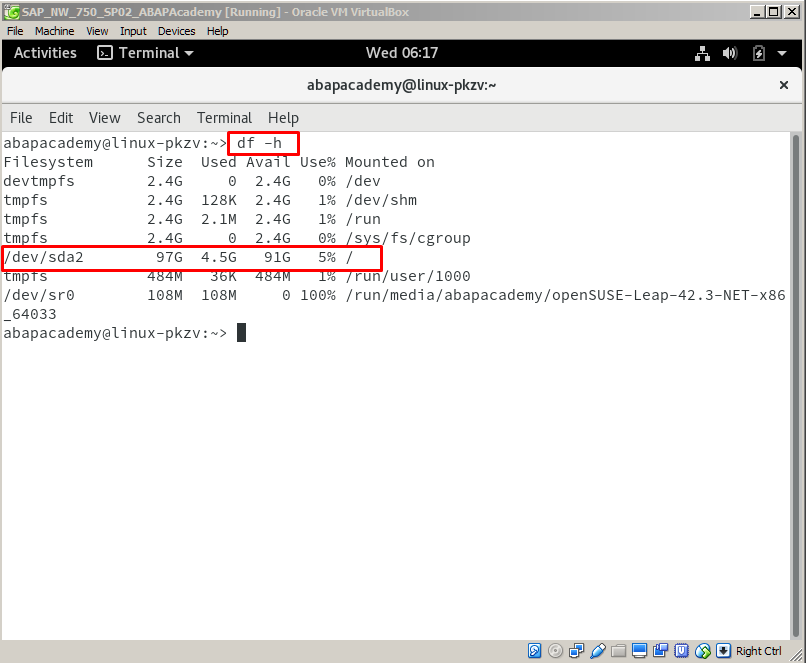
Notice: Minimum space in home directory should be 33 GB to avoid memory issues during installation. (If you are using the same setup as proposed in this ebook, you should have more than 90GB of free space)
Preparation before SAP download
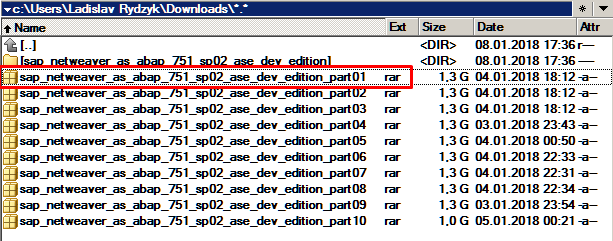
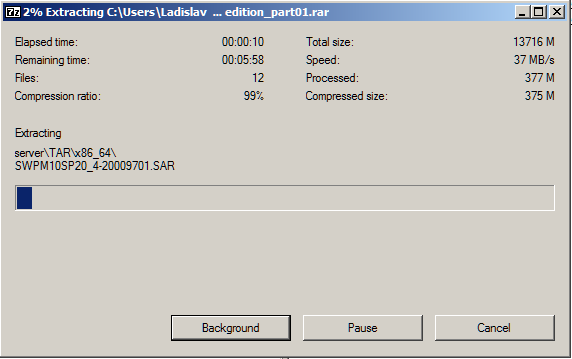
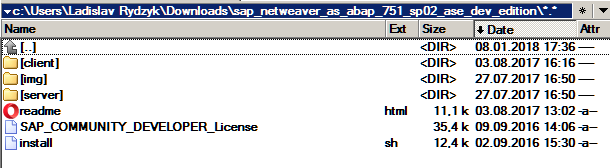
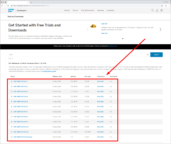
Unpack SAP Installation Files
In this stage, you should have all the installation files already downloaded. Since you have downloaded archived ‘part’ files, you should use the tool like 7zip to extract all the files.
Setup Shared Folder
Before we can download SAP to a local folder, we need to make few changes to our VM software to make shared folder accessible
Go to Virtualbox main window and choose Settings -> Shared Folders.
IMPORTANT: your system is still up and running.
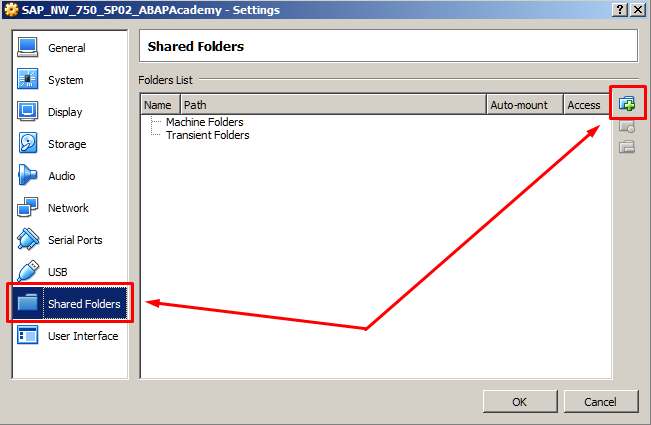
Click on “Add new shared folder” icon and choose the folder where your SAP installation are/will be downloaded.
Check the following:
- Auto-mount
- Make Permanent
Optional: I suggest you to choose Folder Name as well, to make it easier to access it by this name, instead of full path.
I choose “sapinst”.
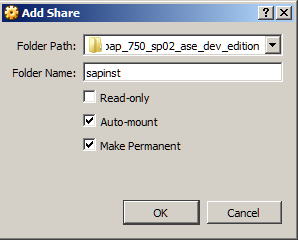
Then click “OK”, and then “OK” once more.
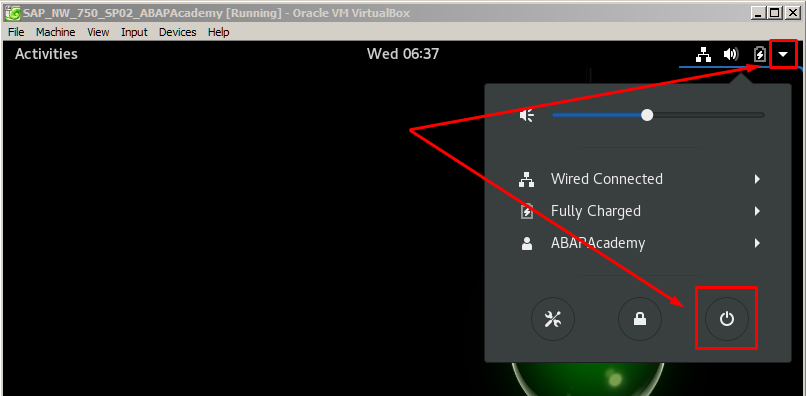
Reboot openSUSE
Now it’s time to REBOOT the system.
uuidd daemon
This daemon is essential to generate database keys needed by SAP.
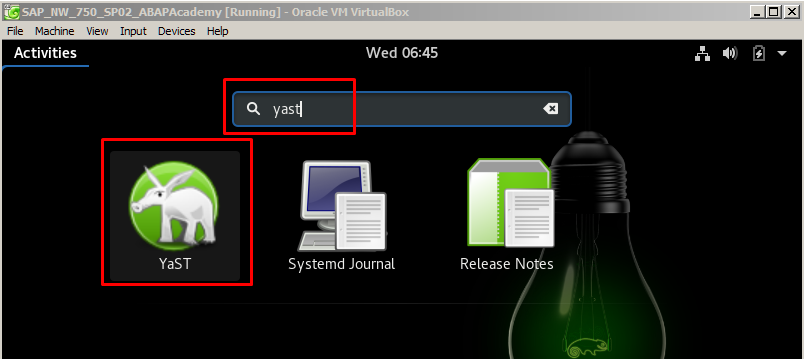
Open up YaST
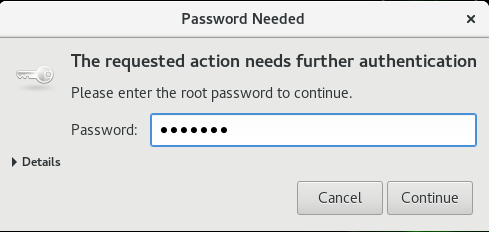
.. and provide your root password
(Only if you use Proxy)
Go to Proxy and set it up
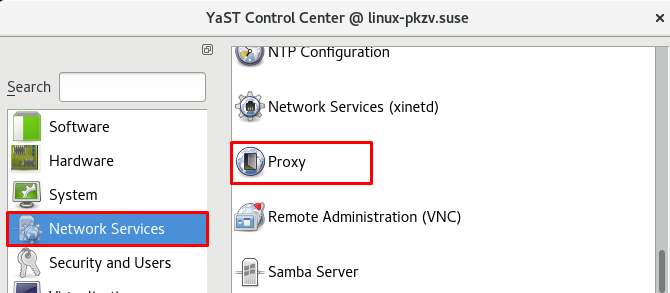
Now we will install uuidd daemon.
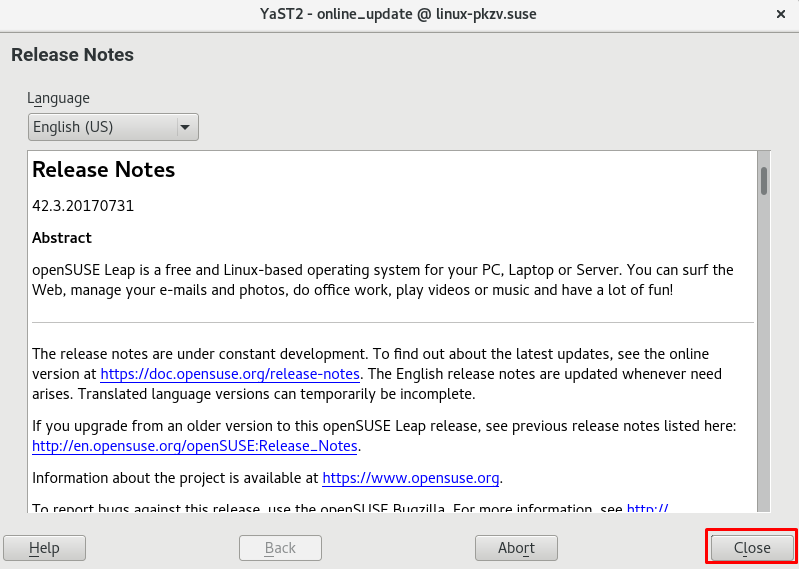
Choose “Online Update”
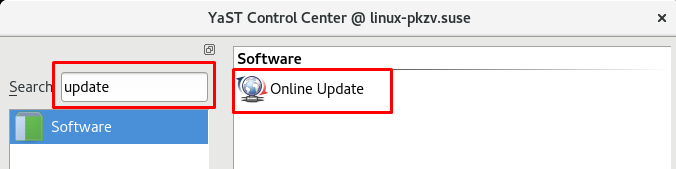
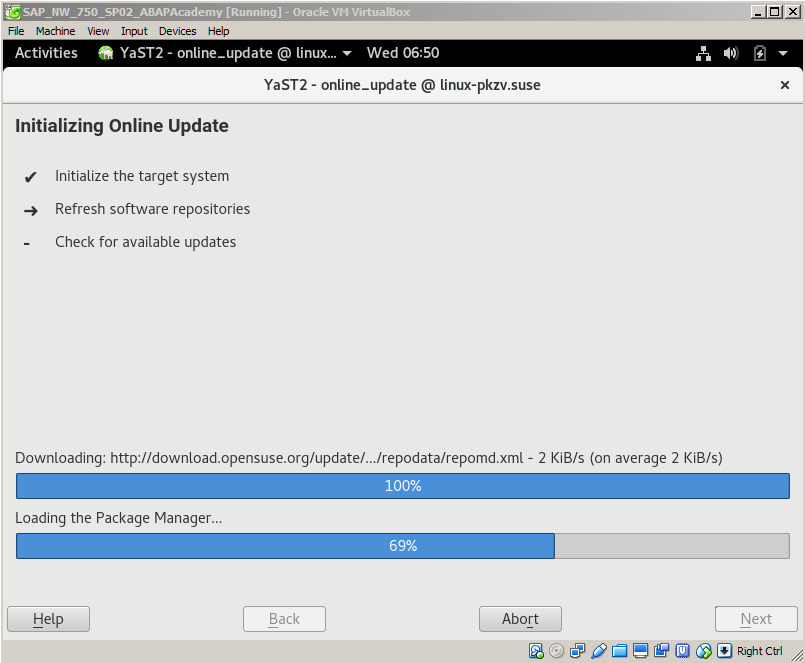
System will initialize Online Update by loading Package Manager.
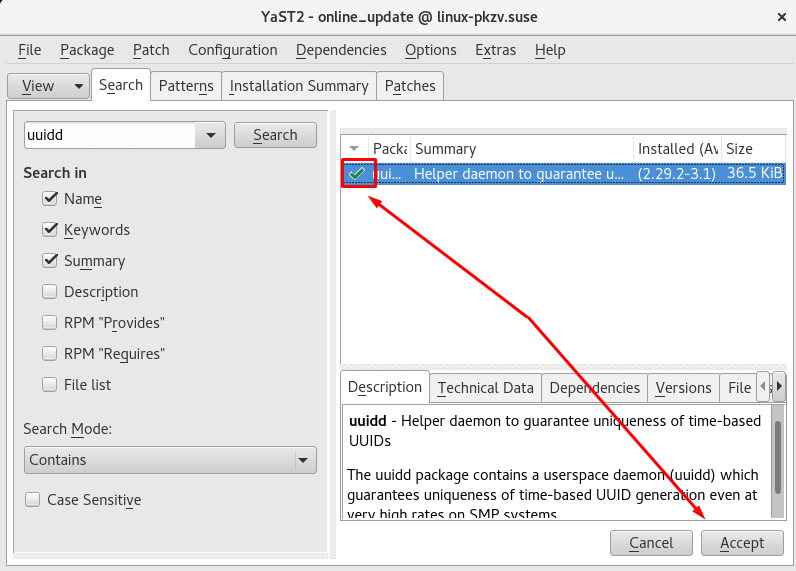
Open “Search” tab and type down “uuidd” and hit “Search” button
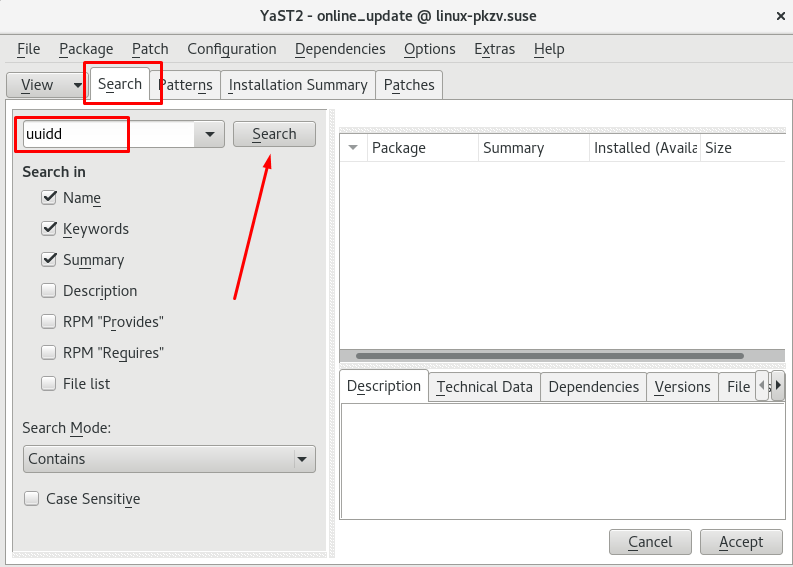
Choose “uuidd” and hit “Accept”
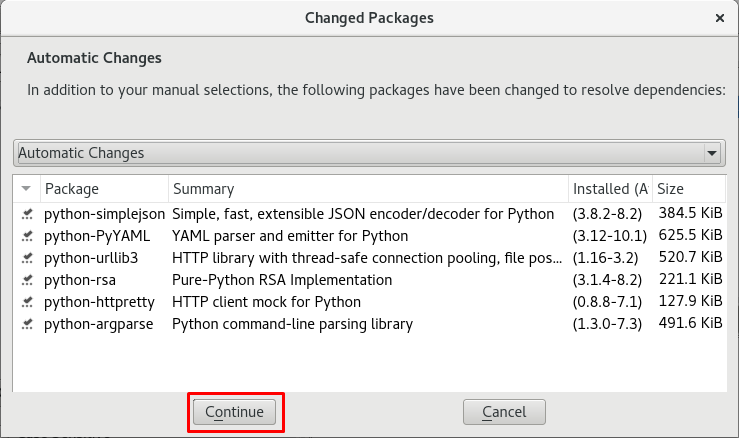
.. Continue ..
.. and Continue once more.
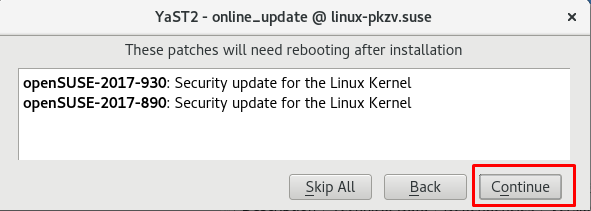
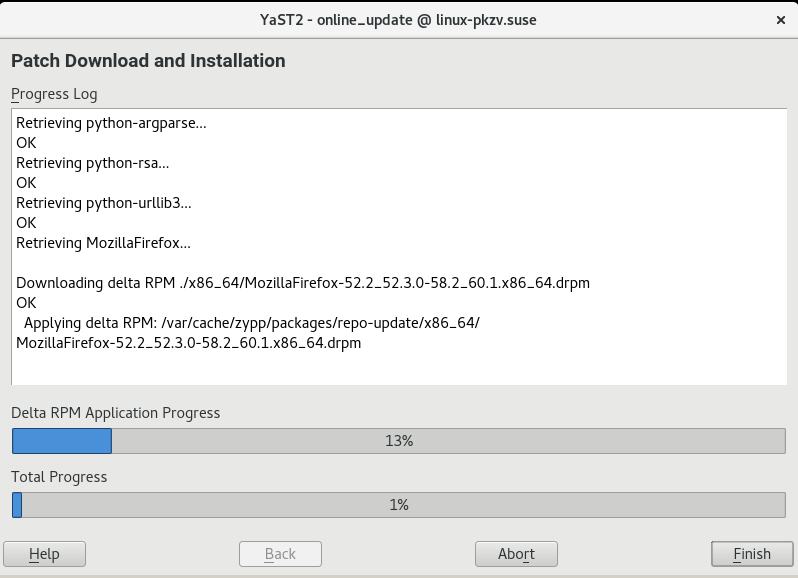
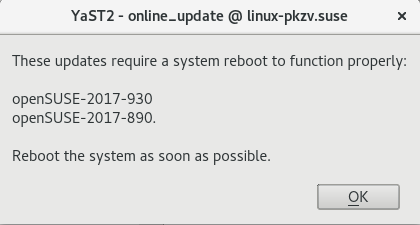
YaST will install uuidd and then then reboot the system.
After installation just close YaST
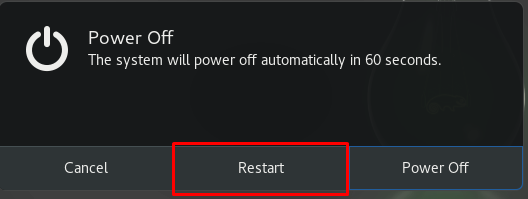
.. and restart the system
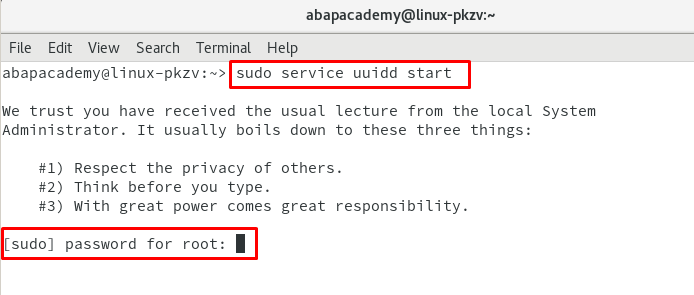
Go to Termnal and type the following command to start up the uuidd service
sudo service uuidd start
You will be prompted to provide your password and hit ENTER.
Now check if uuidd is already running:
sudo service –status-all |grep uuidd
Change Hostname
Stay in the command line and type the following command to change the hostname:
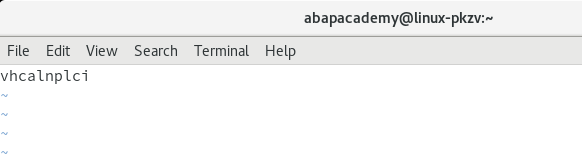
sudo vi /etc/hostname
Change the configuration from this setup:
.. to the hostname “vhcalnplci“ in the following way:
- Press “i” to start inserting
- Remove existing hostname
- Type in the “vhcalnplci” hostname
- Press ESC to stop editing
- Save changes by typing “:wq” (by pressing “:”, VI knows that you are going to enter command, “w” stands for writing/saving and “q” for quiting)
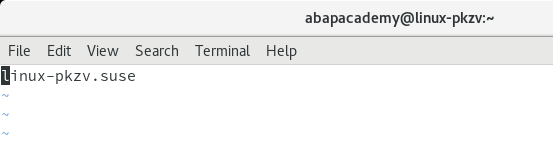
At the end, it should look something like this:
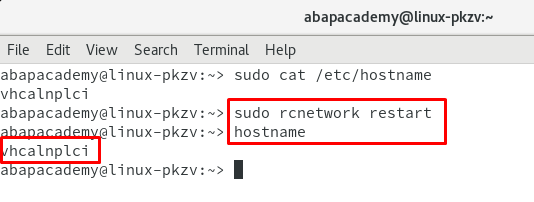
Check if the hostname is changed using this command:
sudo cat /etc/hostname

Now, restart network and check if hostname is changed:
sudo rcnetwork restart
hostname
Map Hosts to New Hostname
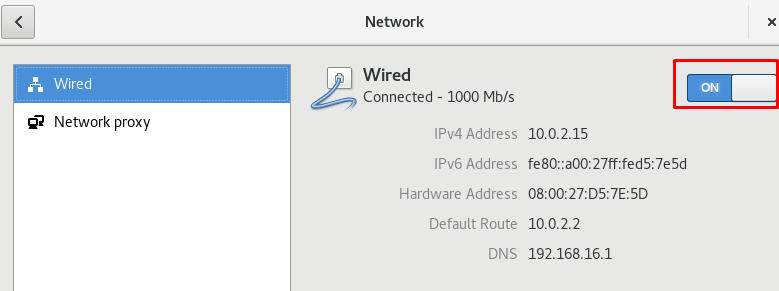
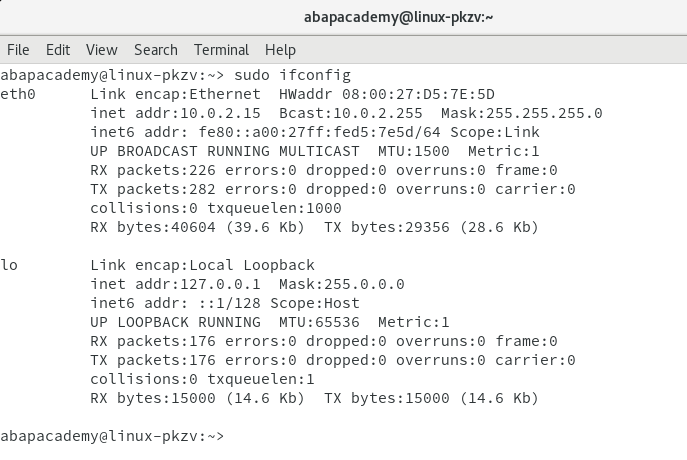
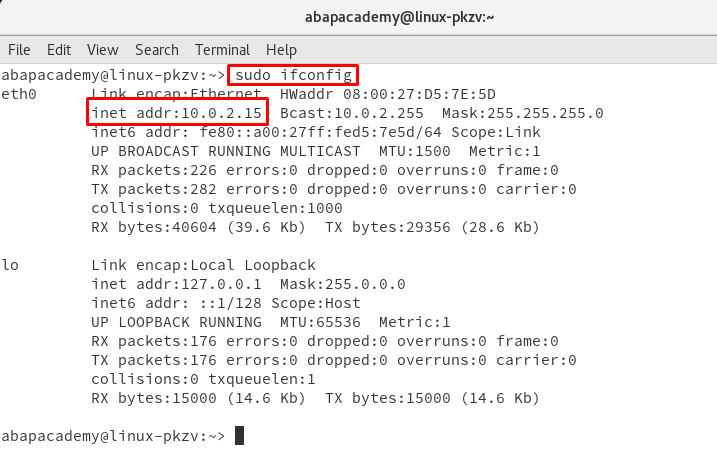
Check your IP address
sudo ifconfig
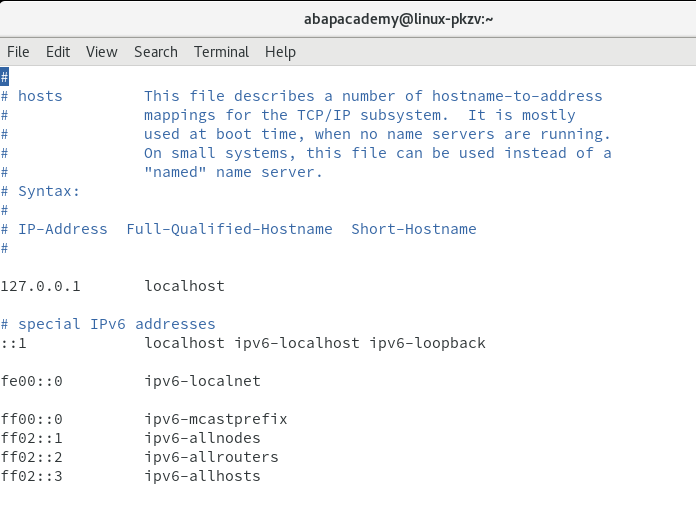
Open hosts file
sudo vi /etc/hosts
It will look something like this:
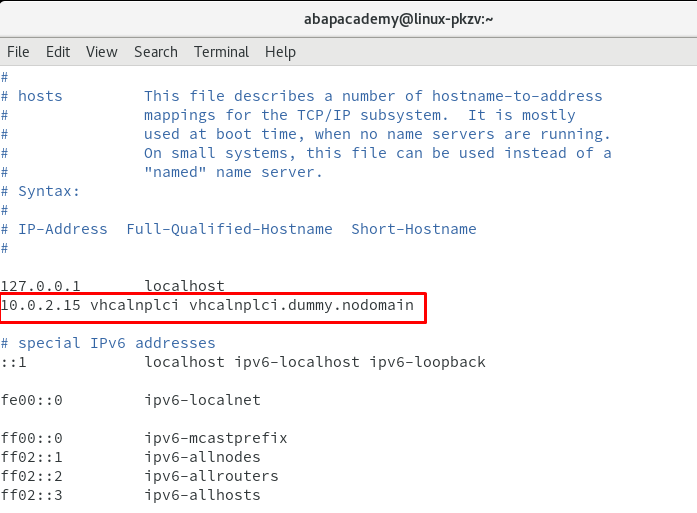
Add a new entry by following this pattern:
<IP address> <hostname> <hostname>.dummy.nodomain
In my case this will be: 10.0.2.15 vhcalnplci vhcalnplci.dummy.nodomain
- Press “I” to start inserting
- Enter 10.0.2.15 vhcalnplci vhcalnplci.dummy.nodomain
- Hit ESC
- Enter :wq
Check if changes have been successfuly saved
sudo cat /etc/hosts

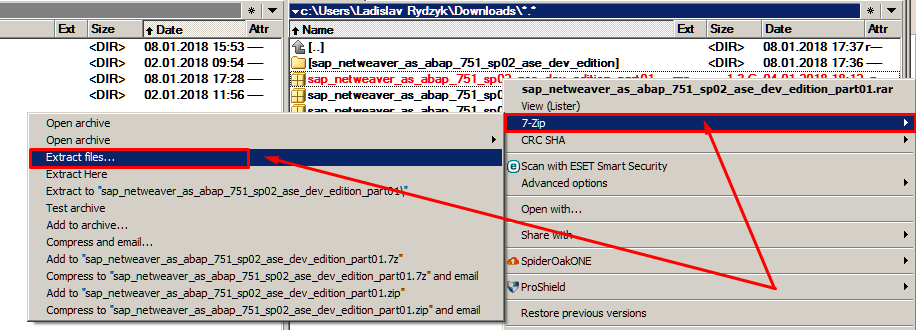
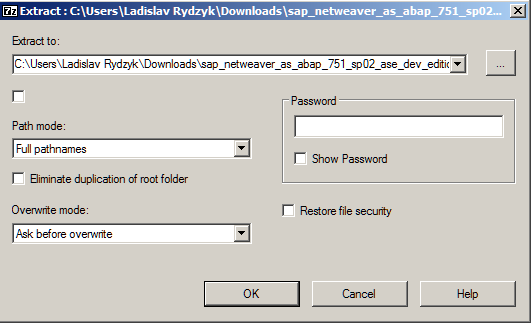
Extract SAP Installation Files
If you haven’t still downloaded and extracted SAP installation files, this is the time, when you should do this.
Extract the multi archive using e.g. 7-zip.
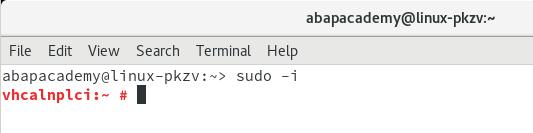
Assign ROOT privileges
Type
sudo -i
Go to created shared folder
cd /media/sf_sapinst/
.. and change the access rights of the install script:
chmod +x install.sh
What’s the Next Step in This Installation Series?
Uncover the link to the next step by sharing this article below:
[sociallocker id=3639]
Update ASE License
This is proprietary software of SAP. In order to run it properly, SAP requires from us to update so called ASE license.
https://abapacademy.com/blog/how-to-update-ase-license-on-sap-netweaver-as-7-50-sp02/
[/sociallocker]
 What is & How to Create Function Module in ABAP?
What is Function Module? Notice: In this article, I will be using…
 How to Change SAP Easy Access Screen Picture?
How to change SAP Easy Access Screen Picture Step By Step as…


I shared this artical but next link doesnt open.
Which link exactly do you mean?
whats link for the next step of installation?
The next step is to update the license as mentioned in the link in the end of this post.
Or is there anything else you are not sure about?
what is done after updating the license? I don’t see any steps after that
Hello Jordan,
then continue with the SAP GUI installation if you haven’t so yet: https://abapacademy.com/blog/sap-gui-installation-process/
Once you’ve done that, set up SAP GUI: https://abapacademy.com/blog/sap-gui-setup/
And in the end start up the whole SAP server so that you can access it through SAP GUI: https://youtu.be/6rH-j5ztlqI
Does that help or do you have any further questions?
Hi, I have some problems with installation. I have VM VirtualBox installed, all parts of SAP tool downloaded and OpenSuse Leap downloaded. However since I have AMD graphic card I can’t choose openSuse 64-bit as a version, besides I have “wrong settings” warning in the bottom which is saying: “Hardware virtualization is enabled in Acceleration section of the system page although it is not supported by the host system. It should be disabled in order to start the virtual system.” I’m unable to disable it though as I can’t click OK button in the settings field at all, no matter what I will do there or even if I won’t do any changes. Of course when I’m trying to hit Run I got the information that the session for my virtual machine could not opened. Are you able to help me out? Thanks in advance.