How to Import Objects to SAP System?
Notice: this article is relevant for SAP system users who are having SAP server installed directly on their Windows OS, and not on Virtual Machine as our Fully Pre-Installed SAP System.
When you will have to use this?
- Whenever you need to add to your SAP system objects or software, which was developed on different system, you need to import it to your system. Then you are able to use it on your own system as well.
- This is one of the ways how your customer imports your developed software to his SAP system
So how to import objects to SAP system? Follow these exact and detailed steps:
[sociallocker id=1191]
Upload Transport Files to OS
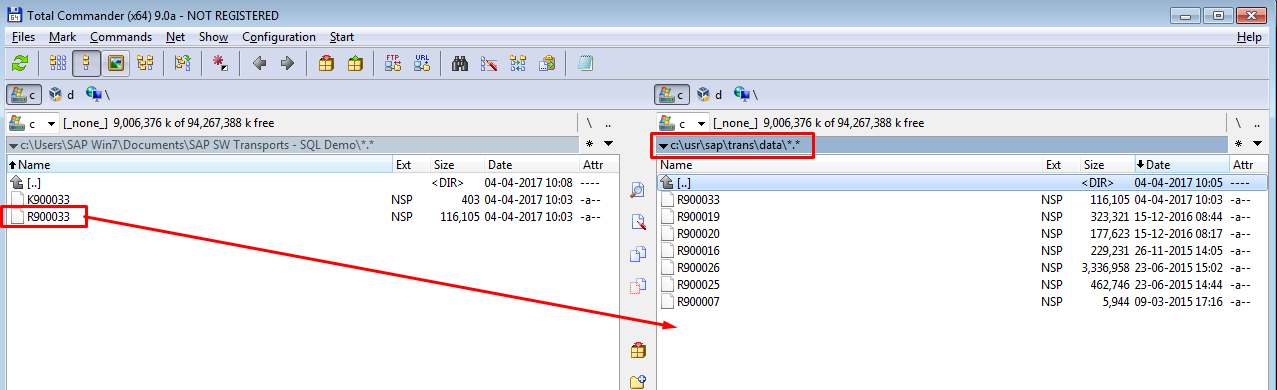
You should receive two kinds of files:
- Cofile – file name beginns with “K”
- Data – file name beginns with “R”

Those files should be uploaded to your OS system, with SAP system installed. You should navigate to your transport files, which is usually located here “C:\usr\sap\trans\“, or if you installed your system in different path, look for the “trans” folder.

Now upload the files to the system the following way:
“K” file to Cofiles
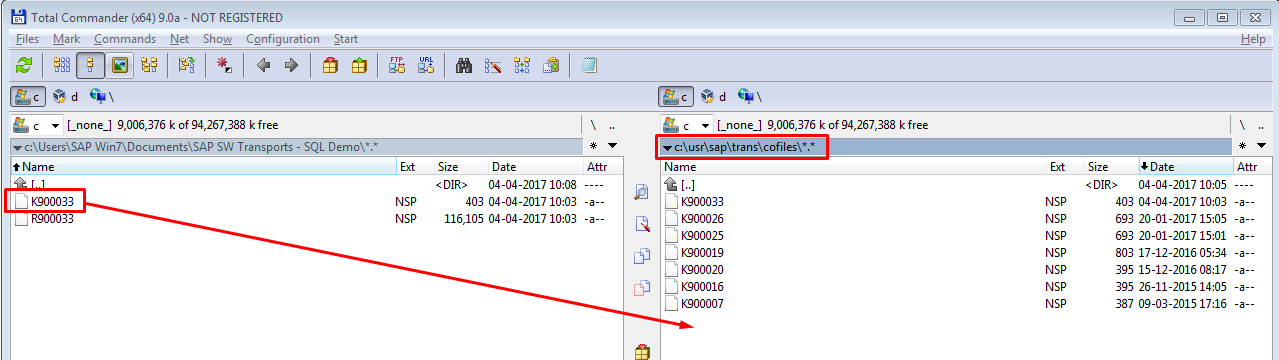
“R” file to Data
Import Transport to SAP System
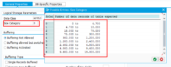
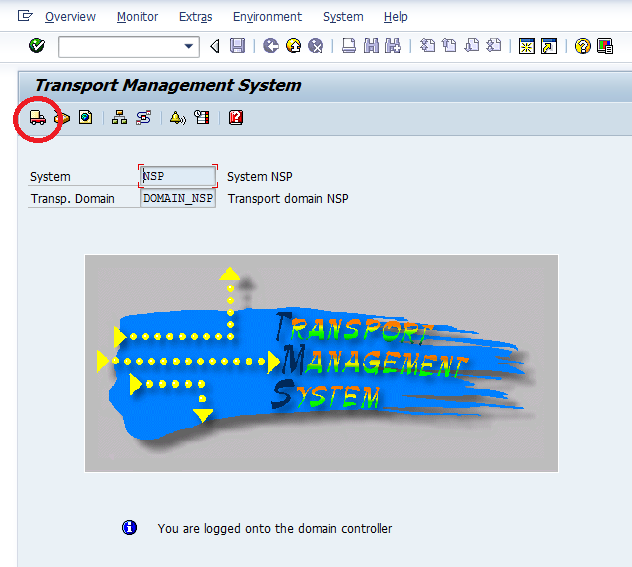
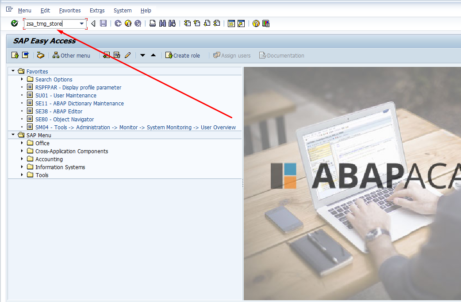
Go to transaction STMS -> Import Overview (F5)
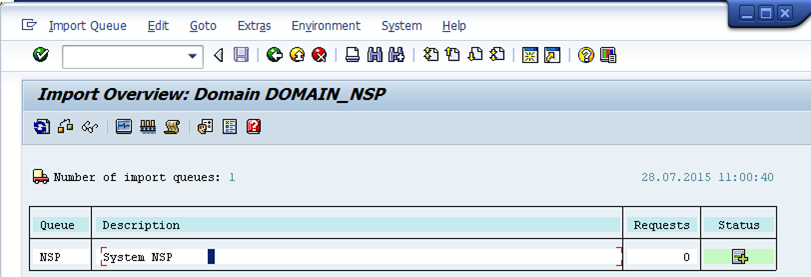
We are in the Import Overview screen with all import queues. In our case we will have only one, which is “NSP”. In big companies with huge system landscape, we might have more import queues to different systems. Usually, there are at least three systems. Some companies have quality assurance systems as well:
- Development system
- Testing system
- Quality assurance system 1 (optional)
- Quality assurance system 2 – with real data (optional)
- Production system
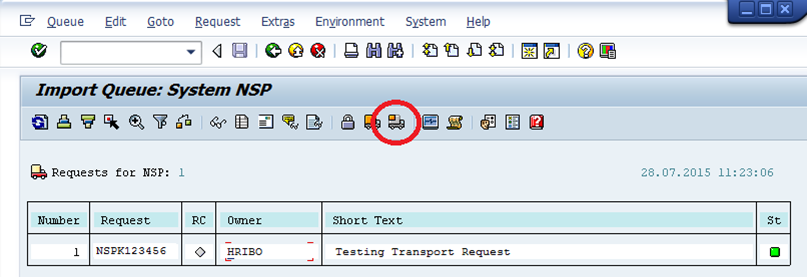
Double click on NSP row.
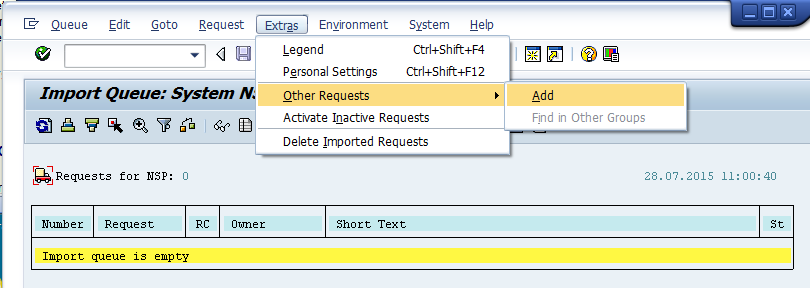
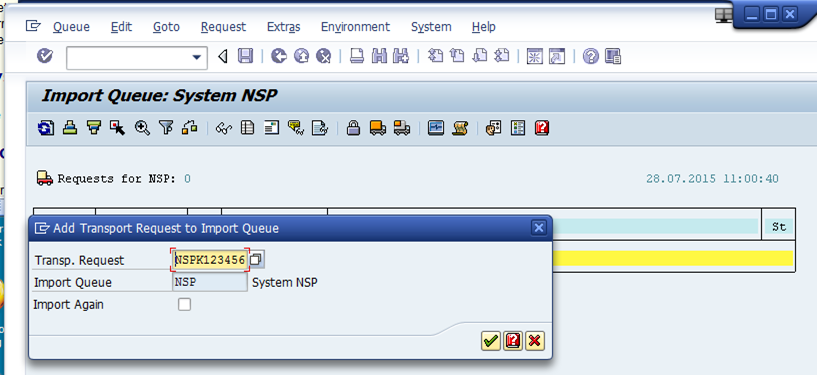
We get into import queue of NSP system. To import specific transport, go to Extras -> Other Requests -> Add
Provide Transport Request number. In case that you have tried to import the request, but it has failed, you can reimport it again by checking “Import Again” checkbox field.
And confirm your choice by clicking “Yes”.
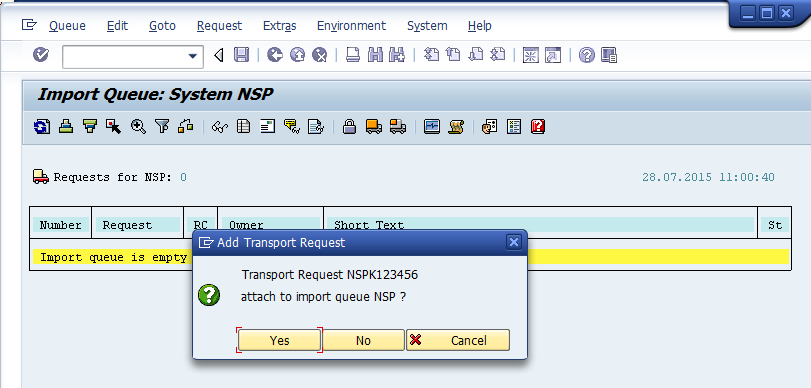
Transport request is added into the transport queue.
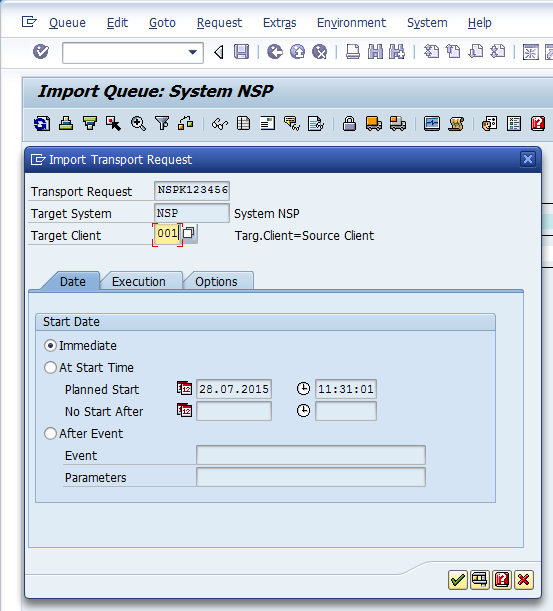
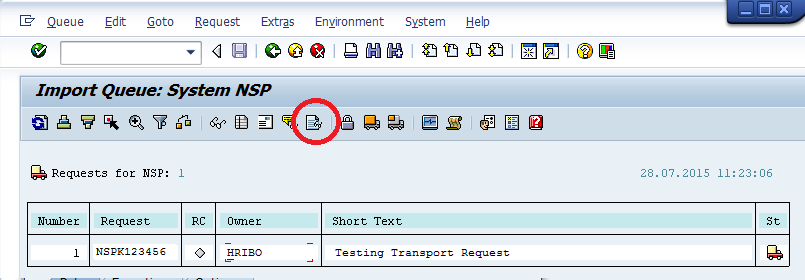
Select the transport request by clicking on the row and go to Import Request (Ctrl+F11)

Provide Target Client, which is in our case 001 provided by SAP installation.
Leave Start Date as it is. This way we will import Transport Request immediately. It is also possible to do import either in specific date and time or when predefined event will occur.
Lets leave Execution and Options tab for now and click “Ok” button.
Summary popup comes up with all the information which is going to happen. Click yes, and import will start.
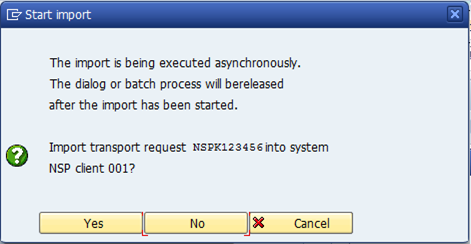
Transport request is being imported. To check the progress you can either click on “Refresh” (F5), or for more detailed information choose “Logs” (Ctrl+F4). Logs are useful in case when Transport Request finished with errors.
[/sociallocker]
Transport Log contains all the information and all the steps processed.
If you need detailed information in each step, click on Log Display button in the tree.

Do you have troubles with STMS?
Please take a look at our troubleshooting articles for support here: http://abapacademy.com/blog/category/sap-netweaver/troubleshooting/stms/
 What is & How to Create Function Module in ABAP?
What is Function Module? Notice: In this article, I will be using…
 How to Change SAP Easy Access Screen Picture?
How to change SAP Easy Access Screen Picture Step By Step as…